Talking Head

CapCut editing guide

How to create a talking head video in capcut from your footage

You can build a talking head video from a direct-to-camera take or from a longer interview. Choose the path that matches your recording, then edit for clear speech, steady framing, and a clean ending. If you have only a still portrait, note that editing it beside audio is not the same as making its mouth move.

For generating a new video, not editing in CapCut
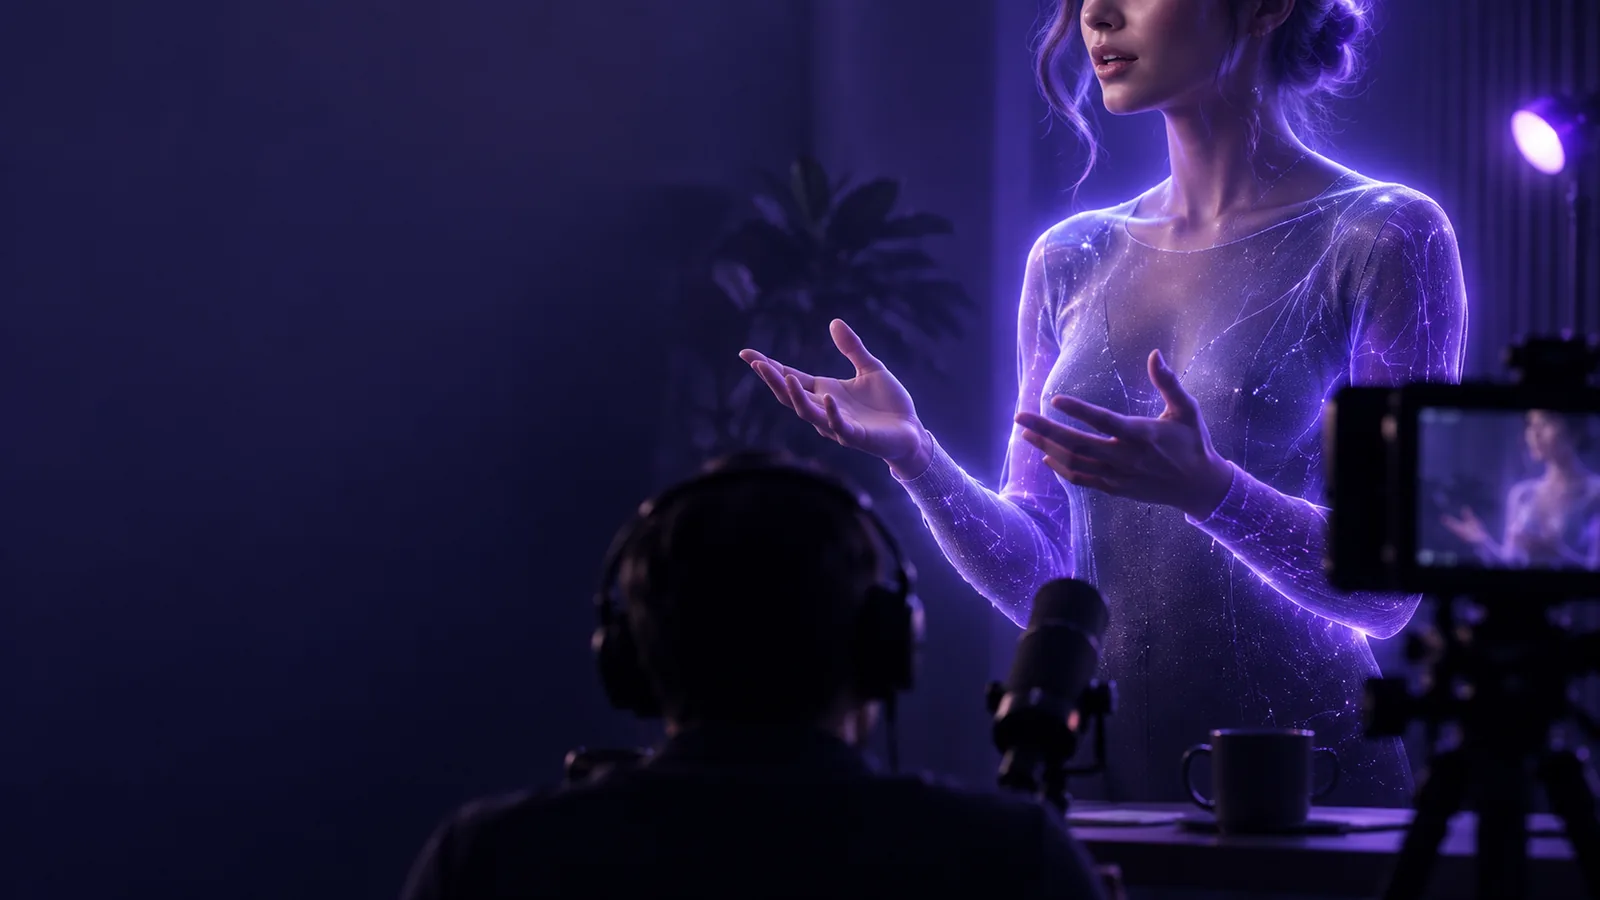
Talking Head presenter video preview

Start with the source, not an effect: a finished camera take needs trimming, while a long interview needs selection and assembly.

What CapCut cannot fix on its own

Pick a route based on what is actually in your files. Editing can improve presentation, but it cannot recover every missing part of a recording.

  • A still photo is not a filmed speaker

    Putting a portrait over a voice track creates a video with audio, but it does not establish natural lip movement or an authentic performance. Do not present it as footage of someone speaking.

    WorkaroundRecord the person on camera, or use a tool designed for disclosed animated-avatar output before bringing the result into CapCut.

  • Clipped or distant speech stays difficult

    Noise reduction and volume adjustments may help modestly, but they cannot reliably restore words buried under traffic or distorted by an overloaded microphone.

    WorkaroundRecord a replacement line in a quiet space and cut it into a natural pause.

  • Captions need a human review

    Automatic transcription may miss names, technical terms, or words spoken quickly. Feature names and availability can also vary by device and app version.

    WorkaroundPlay the full video with captions visible, correct each line, and check that text does not cover the speaker's face.

path A Edit a direct-to-camera take

Use this path when one recording already contains the message and the speaker faces the lens. Keep the original voice attached to the footage.

  1. 1

    Import and find the real start

    Create a new CapCut project and add the camera clip. Play through it once, then trim away the moment you press record and any lead-in before the first useful sentence. Keep a short breath before the opening word rather than cutting into it.

  2. 2

    Remove mistakes without rushing

    Split around false starts, long silences, and repeated sentences, then remove only the unwanted segments. Listen across every join. If a jump cut feels abrupt, leave a little room tone or cover the join with relevant supporting footage instead of adding a distracting transition.

  3. 3

    Frame and balance the speaker

    Choose the aspect ratio for the destination before placing captions. Reposition the clip so the face has comfortable space around it; avoid cropping the chin or cutting off gestures. Adjust speech level, then compare the loudest and quietest sentences at the same playback volume.

  4. 4

    Caption, review, and export

    Add captions if the available CapCut version supports the method you need, and correct the text manually. Watch once with sound and once muted. Export at a resolution and frame rate appropriate to your source footage, then play the exported file to confirm the audio and final frame.

path B Assemble a longer interview

When the best remarks sit inside a long recording, select the story first. Make a rough cut of complete thoughts, then tighten pauses and add supporting shots only where they help the viewer follow along.

Solo presenter

Your recording has several attempts at the same introduction. Mark the clearest complete take, move it to the start, and remove duplicate attempts before adjusting captions.

A direct opening that sounds intentional rather than patched together.

how to do a talking head video

Interview editor

Your subject answers a question across several minutes. Keep the question's context, arrange the strongest answers in a sensible order, and listen for changes in background sound at each cut.

A shorter talking head video that preserves what the speaker meant.

talking head tutorial step by step

Explainer creator

Your speaker refers to a product or process viewers cannot see. Place a relevant cutaway over that line while leaving the speaker's voice uninterrupted; return to their face when the explanation becomes personal.

More visual context without turning every sentence into an effect.

how to make talking head videos more interesting

final check

Use the same checks for either path. Review the exported file, not just the CapCut preview: the file is what your audience will actually see and hear.

1

Opening

Direct-to-camera take

Begins with the first useful sentence, without a recording pause.

Long interview assembly

Establishes who is speaking and what the selected answer addresses.

2

Edit joins

Direct-to-camera take

Removed mistakes do not cut into words or breaths.

Long interview assembly

Reordered remarks retain their original meaning and sound natural.

3

Audio

Direct-to-camera take

Speech remains clear and reasonably even from start to finish.

Long interview assembly

Adjacent excerpts do not jump sharply in loudness or background sound.

4

Framing

Direct-to-camera take

The face stays comfortably inside the chosen aspect ratio.

Long interview assembly

Changes between interview angles or cutaways are easy to follow.

5

Captions

Direct-to-camera take

Names and key terms match the spoken words.

Long interview assembly

Caption timing still matches after excerpts have been rearranged.

6

Supporting visuals

Direct-to-camera take

Any added footage clarifies a point rather than hiding a rough edit.

Long interview assembly

Cutaways illustrate the actual subject of the accompanying speech.

7

Export

Direct-to-camera take

The saved file includes the full ending and audible speech.

Long interview assembly

The saved file plays every assembled segment in the intended order.

Make your next presenter video

Ready to create a new talking head video?

CapCut is a useful place to edit footage you already recorded. If you want to generate a new presenter video instead, describe the message and review the resulting performance before sharing it. Keep generated content distinct from a recording of a real person.

Create presenter video
  • Write the message before generating
  • Review voice, timing, and visible speech
  • Disclose an animated presenter where appropriate

tutorial FAQ

Yes. Import the clip, trim its beginning and end, split out mistakes, check the sound, and export the finished edit. A single well-framed take is enough; additional effects are optional.

Watch the recording first and identify complete answers worth keeping. Split around those sections, arrange them in an order that retains the speaker's meaning, and listen to every join before adding captions or cutaways.

A portrait placed on a timeline can appear while audio plays, but that alone does not create synchronized mouth movement. If you need an animated speaker, create that footage with a suitable tool first and identify it as generated when you use it.

Finish the main cuts first so your captions follow the final sequence and timing. Then check the transcript against the voice, especially for names, short words, and sentences that cross an edit.

Open the exported file and watch it all the way through. Confirm that speech is audible, captions remain readable, framing does not crop the face, and the last sentence has not been cut short.

Start creating
Start creating